
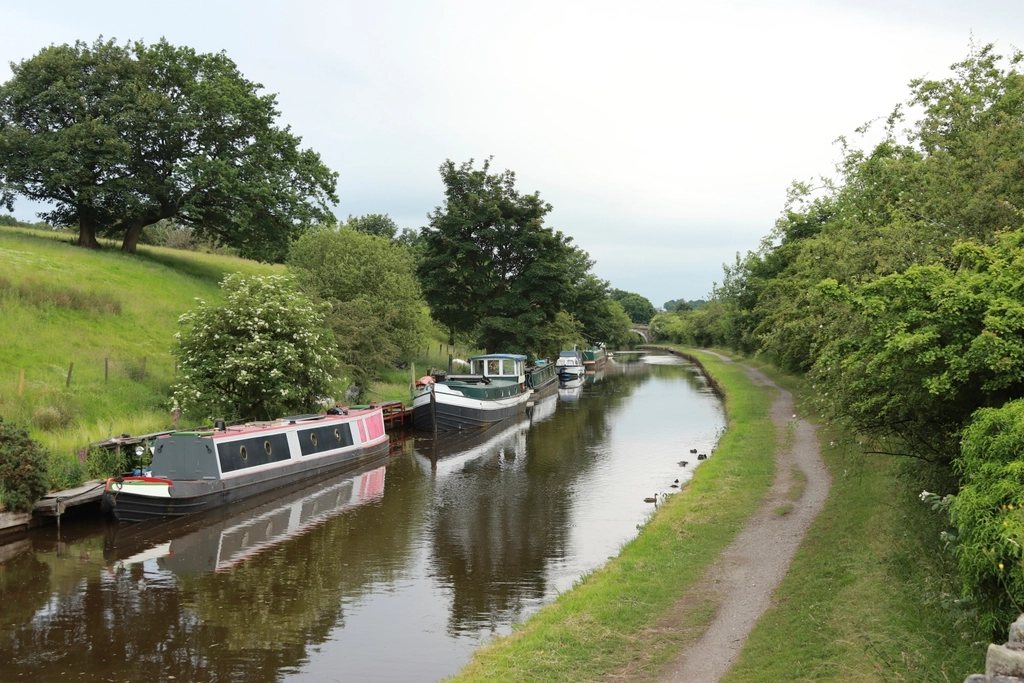
Somewhere near most of us there is a path that would suit a wheelchair, a pushchair, a walker with a stick or a person who needs a bench every few minutes. Finding it is the hard part. The information exists in fragments: a symbol on a park map, a phrase on a leaflet, a sentence buried on a land manager’s website, a photograph someone took of a gate. The labels used to describe these routes were invented by many organisations for many reasons, and they do not mean the same thing from one to the next. This is a guide to the words, the numbers behind them, and the ways of checking a route before we drive to it.
What the common labels usually mean
The phrases we meet most often fall into a few families. “Easy access” or “easy going” generally means a route that has been surfaced and had its barriers removed: firm path, no stiles, gentle gradients, but not necessarily wheelchair-tested. “Access for all” or “all ability” usually means the route has been assessed against a written standard, with gradients and widths measured, and is intended to work for a self-propelled wheelchair, though the fine print may assume some assistance. “Step-free” is exactly that and no more: it promises no steps, not a good surface or an acceptable slope. “Wheelchair accessible” on a signboard can mean anything from a fully graded circuit to a car park with a view, and is the label we trust least without detail.
Stile-free routes are a particularly useful category. Several countryside organisations publish lists of walks where every stile has been replaced by a gap or a gate, sometimes with each gate’s clear width recorded. Because a stile is an absolute barrier for wheels and for many older walkers, a stile-free list is a good starting shortlist even when it says nothing about gradients.
The honest label is the one that gives numbers rather than adjectives. “2.1 km, compacted stone, maximum gradient 1:14 for 30 m, one gate of 1.1 m, two benches” tells us everything; “suitable for all” tells us the writer’s hope.
The numbers behind the standards
Most access standards for outdoor paths, whether they come from national park authorities, government accessibility rules or countryside charities, work with the same handful of measurements. The usual ones are:
- Running slope, the gradient along the path: often 5 percent (1:20) as the general limit, with short sections allowed to be steeper, for example up to about 8 percent (1:12) for a few dozen metres and up to 10 or 12 percent for a few metres, with level resting places between.
- Cross slope, the sideways tilt: typically no more than 2 to 5 percent, since anything more pulls a chair towards the edge.
- Clear width: usually a minimum of around 0.9 to 1.2 metres, with wider passing places at intervals of a few hundred metres on narrower paths.
- Surface: described as firm and stable, sometimes with an allowance for small bumps or gaps, often capped at about 25 to 50 millimetres.
- Barriers: the clear opening of gates, the absence of stiles and cattle grids without a bypass, and the height of any lip at bridges and boardwalks.
Some standards also grade routes by setting, with stricter figures for a town park than for a moorland edge, on the reasoning that a rural route can reasonably be harder than an urban one as long as it is described accurately. That is why two routes with the same label can feel very different underfoot. The label tells us the standard was applied; the numbers tell us what the standard was.
Reading a map for access
A good topographic map answers most access questions before we leave the house. Contour lines are the first tool: on the common walking scales, contours are drawn every 5 or 10 metres of height, so a path that crosses no contour for a kilometre is essentially flat, and one that crosses three 10-metre contours in 300 metres is averaging 10 percent, too steep for most wheels. Disused railways, canal towpaths and metalled estate roads are usually marked distinctly and are almost always level or gently graded, because trains and barges could not manage anything else.
Digital maps add an elevation profile, which draws the ups and downs of a route as a graph and makes the steep sections obvious. Satellite imagery shows surface: pale, regular paths are usually surfaced, dark irregular ones are often mud or grass. Street-level photographs at the car park and the first junction reveal kerbs, bollards and gates that no map records. Recent photographs posted by other visitors are the best source of all for gates and surfaces, and a route described in a wheelchair user’s own account is worth more than any symbol.
Asking the right questions
When the published information runs out, we ask. Land managers, visitor centres, park rangers and local access groups almost always know which of their paths work for wheels and which do not; the knowledge simply lives in people rather than on pages. The questions that get useful answers are specific: what is the surface, is there any gradient steeper than 1:12 and for how long, what is the narrowest gate, are there steps anywhere including at bridges, where are the accessible toilets, and what does it do after rain. A person who answers those six confidently knows the route; a person who says “oh, it is all quite easy” may not.
Disability walking groups and wheelchair hiking communities publish route accounts that are better than most official leaflets, because they were written by someone who had to turn back when it went wrong.
Checking on the ground
The first visit to any new route is a survey as much as an outing. We go on a dry day, with time in hand, and we treat the first 200 metres as the test: if the car park has a kerb without a dropped section, the first gate is tight and the surface starts loose, the rest is unlikely to improve. We note the things that will matter next time, in whatever way we keep notes: where the benches are, which gate needs a lift, where the puddles form, how long the loop really took.
Then we share it. A short account with distances, surfaces and gate widths, posted wherever we found the route or sent to whoever manages it, is how the fragments become a map. Most accessible routes were found this way, by one person going first and writing it down.
A short checklist before we go
Length of the loop and where it can be cut short. Surface for the whole route, not just the start. Steepest gradient and how long it lasts. Cross slope on any hillside section. Every gate, barrier and step, with widths. Benches and toilets and where they are. What rain does to it. And one honest account from someone who has done it with the same wheels, legs or lungs as ours. With those in hand, “accessible” stops being a promise on a sign and becomes something we can check for ourselves.